Changing the cabin filter yourself – interesting facts, installation instructions and costs

by autoteile-markt Published: On 3rd Nov. 2022
The interior air of your car smells unpleasant, the windows fog up and you have problems with your allergy in the car? These are signs that indicate a clogged pollen filter. This should prevent foreign objects from entering the interior of your car. In this article, we will reveal how the cabin filter is constructed in the car, why it is subject to wear and how to change the worn filter.
Structure and function of the cabin filter
Air has different functions in the car. It provides oxygen, dries the windows and warms the car. An adjustable fan pushes the air into the passenger compartment. However, the outside air contains various pollutants and allergens. As a result, it flows through the interior filter on its way inside the car. Its task is to clean the air of soot particles, brake dust, tyre abrasion and other fine dust. Other names for the cabin filter with the same meaning are particulate filters, cabin filters and microfilters (BMW).
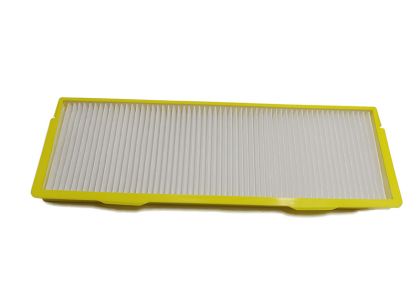
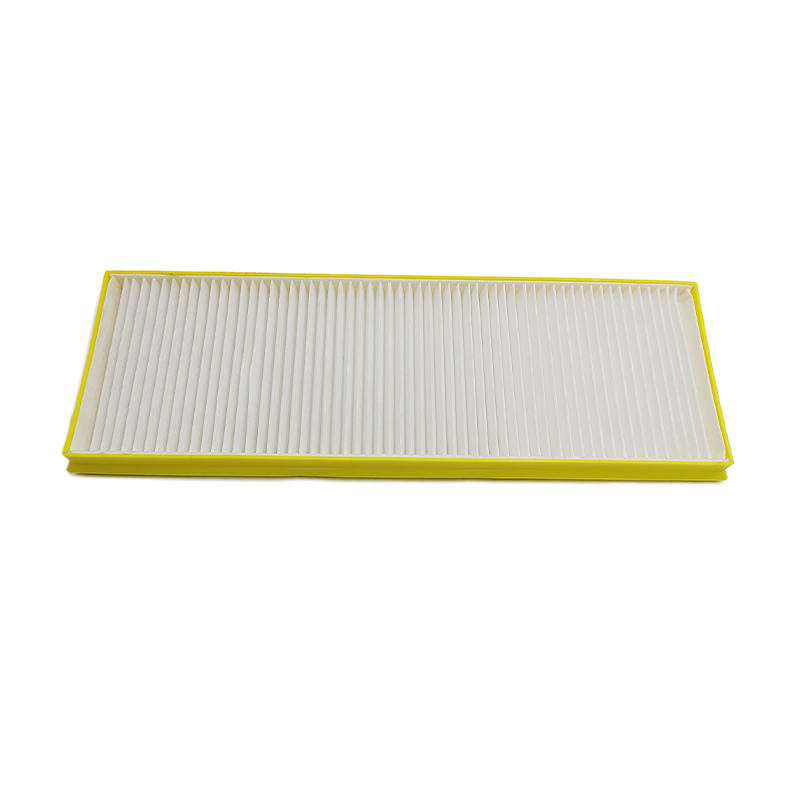
The basic structure of the filter is simple. It consists of several fine layers of paper or fleece, which are extremely closely interwoven. The structure of these layers allows the air to flow through and captures coarse and fine particles in several stages.
Defective pollen filter – diagnosis and symptoms
If the filter is added with dirt and pollen, the symptoms appear creepingly. The clogged filter only allows little air to pass through and the performance of the fan and air conditioner decreases. You may notice this on frequently fogged windows or the fact that the car takes longer to reach or change the set temperature.
Allergy sufferers often notice it the fastest when the filter is full. The effectiveness of the cabin filter decreases and allergic reactions occur. Due to the many bacteria and germs in the filter, a smell may also spread in the car. If any of these effects occur, you should examine the cabin filter and replace it if necessary.
Interchange intervals for cabin filters
There is no statutory or otherwise fixed change interval for the cabin filter. Each manufacturer determines the intervals for replacement based on the service life of its filter. In most cases, kilometres and time limits are indicated, for example: 20,000 km or 12 months. If you observe this interval, as a rule, there will be no problems with allergic reactions or odors.
If you do not find any information for your manufacturer or do not use an original filter, then use general guidelines. Ordinary cabin filters should be operated for a maximum of 12 months, high-quality activated carbon or antibacterial filters should be operated for a maximum of 24 months. However, for frequent drivers, changing the filter may be necessary earlier, as this increases the load on the filter.
Please note: The cabin filter is not tested during the general inspection of the TÜV, as it is not a safety-relevant part. You are responsible for the exchange. If you regularly bring your car to a workshop for service, the interior filter is automatically replaced there.
Changing the cabin filter yourself – step by step instructions
Do you need to change the cabin filter in your car? With the help of our guide you can easily do this work step yourself. There are two mounting positions of the pollen filter, so the second step is divided into both options.
Theoretically, the interior filter can also be cleaned. However, the new pollen filter causes very low costs. Due to the price and the high effort of cleaning, our recommendation is: Exchange!
To change, you only need a set of screwdrivers and a set of socket wrenches, depending on the car. On average, it takes up to 30 minutes and you usually do not need a helper.
The particles get stuck in the filter and the clean air flows into the car. This causes the cabin filter to become clogged with these particles over time. This reduces air performance and creates a breeding ground for bacteria. If the cabin filter is defective or clogged, the ventilation performance decreases and some of the pollutants enter the cabin. Regularly changing the cabin filter eliminates the problem, the old filter is simply disposed of together with the pollutants.
Particle filters, allergen filters or combi filters?
Interior filters differ according to the particles they filter out. The amount of filtered dirt particles is defined by the separation rate. The higher it is, the more dirt the filter removes. The price increases with the separation rate.
Allergy sufferers should make sure that they install a biofunctional interior filter. These usually have a polyphenol coating against pollen and other allergenic substances. In addition, this coating has an antibacterial effect and thus improves well-being, especially for allergy sufferers.
The third category is so-called combi filters. They perform the function of a normal particle filter, but are enriched with activated carbon. Activated carbon filters extremely fine and absorbs bacteria and most viruses. It also has an odour-inhibiting effect, as most odour-forming substances get stuck in the activated carbon.
1. Find cabin filters
There are two positions where the cabin filter is usually installed in the car. The first position is in the engine compartment near the windshield, usually under the wind turbine. The second position is in the passenger compartment below or behind half of the glove compartment. Find a large cover, as the cabin filter has a considerable size.
2.1 Pollen filter in engine compartment
If the cabin filter for renewal is in the engine compartment, allow the car to cool down before you start replacing it. Look for the filter box near the disc. For most cars, you first need to disassemble the wind turbine to see the interior filter. If other parts obstruct access, disassemble them before changing the filter.
2.2 dashboard cabin filter
If the broken cabin filter is inside, look for a large cover underneath the glove compartment. Once you have removed them, you should have access to the filter box and pollen filter.
If it is not there, open the glove compartment. Empty the compartment and look for screws, usually in the back wall. Remove the screws and remove the cover. Behind it you should find the filter to replace.
3. Remove cover and old cabin filters
The interior filter itself is usually fixed with several brackets. Examine the mechanism, remove the brackets and pick them up. Once all the clips have been removed, you should be able to pull out the cabin filter without resistance. You should remember the position when you pull it out so that you can use the new cabin filter in exactly the same way. Shake the filter as little as possible during disassembly, otherwise dirt and other particles may fall out.
4. Change cabin filters
Take the filter at hand to change. Install the new cabin filter as you dismantled the old one. The pollen filter has a prescribed installation direction. This must be correct so that the outside air flows in from the right side. Incorrect installation reduces the service life and effectiveness of the pollen filter considerably!
5. Completion
Once the exchange is complete, assemble your car again. Insert the clamps to fix the filter, mount the cover and reassemble parts disassembled from the car.
Start the car and run a short test run after changing. Turn the ventilation up, test warm and cold air and pay attention to odors from the ventilation. Everything works? Then the change of the interior filter was successful and you can breathe again!
6. Dispose of filters
After changing, the particulate filter is only full of dirt, dust and pollen. Normally, it does not contain any harmful substances and can therefore be disposed of in household waste.
Only exception: If the filter has come into contact with oil or other engine fluids due to a defect, you must dispose of it as hazardous waste.
